How To Give Your Patio Some Pizzaz
by Mackey on 04/30/11
This screened in patio was a little ho-hum and in need of something to give it a lift and make it visually more appealing.


The After look was acheived with a little landscaping magic. The 12 ft. tall draperies were made using painter's dropcloth, some marine fabric spray and the rods were made using pvc piping. Blinds were also added for shade and visual appeal.


And there you have it, a couple day project can really transform a space into something much more cozy and inviting. Hope you enjoyed our before and after.
How To Find The Right Contractor For Your Home Project
by Mackey on 01/22/11
Finding a good contractor can be a daunting experience and somewhat intimidating if you do not know what you are doing. The most important thing you can do is to take the time to research and qualify your contractor to ease your stress and ensure that the job will be successful. It is important to understand the steps necessary to find and hire the right contractor for any home improvement project. As the owner of Mackeys MPI Inc, I am happy to provide these tips to homeowners. The process takes a little time and patience but in the end, you will be glad that you did.
1. 1. Start asking friends, neighbors and local businesses for referrals. This will give you firsthand experience about the contractors quality of work. Referrals are a great source of information.
2. 2. With the list of contractors you have obtained, start researching each one. The most important tip on deciding on a good contractor is to look for a contractor that is well established in the area, has been in business for many years and has a lot of experience in the project you are planning. Also the biggest ad in the phone book is not necessarily the best choice to make.
3. 3. Research your contractors by calling the local Better Business Bureau, Chamber of Commerce, and Building Department to find out if any complaints have been filed. Be wary of companies that are new and inexperienced as they will usually cause you problems in the end.
4. 4. Call your local municipality to find out what the license, permits and insurance requirements are in your area.
5. 5. Now you have all the information you need to be an informed consumer. The next step is to call the contractor. This will give you a first impression. Did the contractor return your call promptly? Was the contractor pleasant and courteous? Did he take the time to explain everything to your satisfaction? Did the contractor set up an appointment within a reasonable time? Most importantly did the contractor seem interested?
6. 6. During the initial phone conversation ask a few questions such as, Do you have the required insurance, license and bonding? How long have you been in business? What is your specialty and how soon can you start?
7. 7. Meet with the contractor and provide him with a clear and detailed description of your project. You can never provide enough information. Make sure the contractor knows exactly what you want and expect, never assume anything. Pay attention to his body language and voice tone. Remember, you must feel comfortable working with this person.
8. 8. Require a detailed estimate. Get a complete description of all materials. The estimate should include a start date and a reasonable finish date. If you request any changes during the project, make sure you get an updated document in writing that shows exactly what changes have to be done and the extra cost.
9. 9. Get a copy of the contractors certificate of insurance, name of the insurance company and phone number. Contact the insurance company and verify his insurance. Get at least three references and call them. Ask them if they were satisfied and if the job was completed in a timely manner.
10. Compare all the estimates and make sure each one contains the same information. If they do not, then they are not similar. Choosing the lowest bid is usually not a good idea, remember, you get what you pay for. Finally, you have (3) days to cancel most contracts if you have any doubts.
How to Install Pool Padding and Cove Yourself for the Perfect Pool Bottom !
by Mackey on 01/20/11
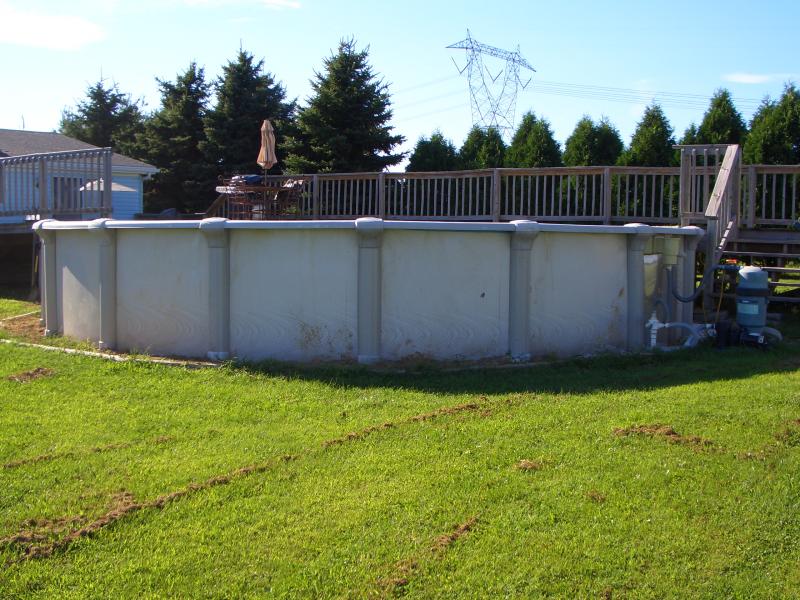
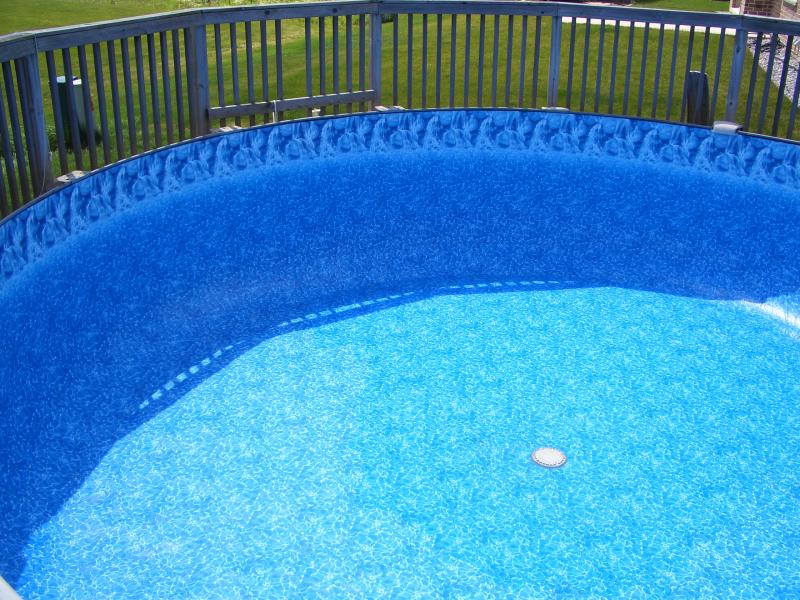
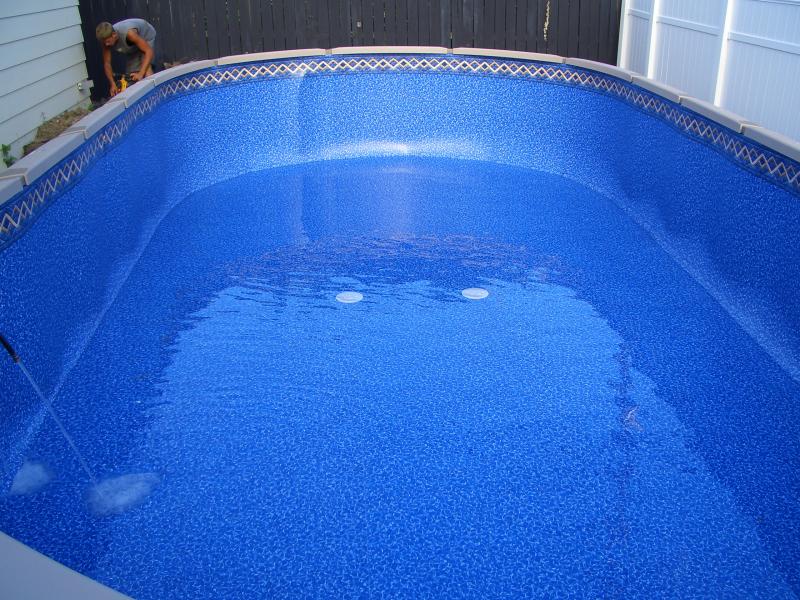
With more than 30 years in the swimming pool business I have had the opportunity to experience many products and techniques when installing above ground swimming pools. The most important step is the base preparation and how to do it right. Sand has always been recommended as the best base material and for good reason it is dense and compacts well when wet which is what you want when prep work for the pool base is done. However, sand can be contaminated with debris that will damage the liner if not properly screened. So what is the absolute perfect material for your swimming pool base? The answer is Pool padding and cove. Pool padding and cove is a polyethylene foam padding that comes in 4 ft. rolls and is precut to your pool size. It adds a soft comfortable feel to the bottom of your pool, acts as an insulator, reduces heat loss to the ground, eliminates sink holes, washouts, provides a smooth flat surface for easy pool cleaning, protects the liner from rocks, bugs, moles, roots, nut grass and is a must when installing on concrete or asphalt surfaces. Lets begin the installation! 1) After leveling the blocks and cleaning all debris from the inside area begin bringing in the clean mason sand (approx 2-3 inches) spreading it evenly just below the wall channel. Rake ,wet and tamp with a 10 inch hand tamper and then lightly broom out any imperfections. 2)Once you are satisfied with the sand preparation start laying down the padding. Starting with the smallest first without walking on the sand. (Walk on the padding already placed down as you go.) 3) Make sure the padding edges are tight together and then start taping with 4 inch duct tape adding two layers per joint. (It is imperative that you keep the padding joints tight while taping or you will see the gaps when the liner is installed.) 4) After all joints are double taped and tight begin trimming the padding around the wall channel and main drains if you have them. Use a sharp razor knife and stay as close to the wall channel as you can. Even though the pool cove will cover this area try to keep it tight. 5) At this point the wall can be installed and then the pool cove which is self adhesive and simply sticks to the wall. Keep the cove tight to the pool padding and then push and stick to the wall. Remember, no gaps !! Tape all joints again and your ready to install the liner. 6) As you can see, by using pool padding and cove you are guaranteed a professional installation with no wrinkles or imperfections. Your liner is completely protected from any foreign objects in the ground. As you begin to fill the pool the padding may bubble up in spots especially on hot days but do not worry, the water pressure will push it back down and you will be fine. If you have any questions at all feel free to email greg@mackeysmpi.com . 


Before & After: From Tiny to Timely, Kitchen and Living Room Remodel and Design
by Mackey on 08/18/10
Here are a few Before pictures of what started out as a very small galley kitchen that was desperately in need of a renovation.

A picture from the living room area shows the closed off, walled in feeling of the rooms as a whole. 
Demo begins on the wall separating the kitchen and living room.


Now we start on what is going to be one of the key elements to the transformation. The double tray ceiling.


In the picture below, we are doing some basic drywall work to what is going to be the double tray ceiling area.

Can lights were added, and the wall for the center island in the kitchen is now in place.

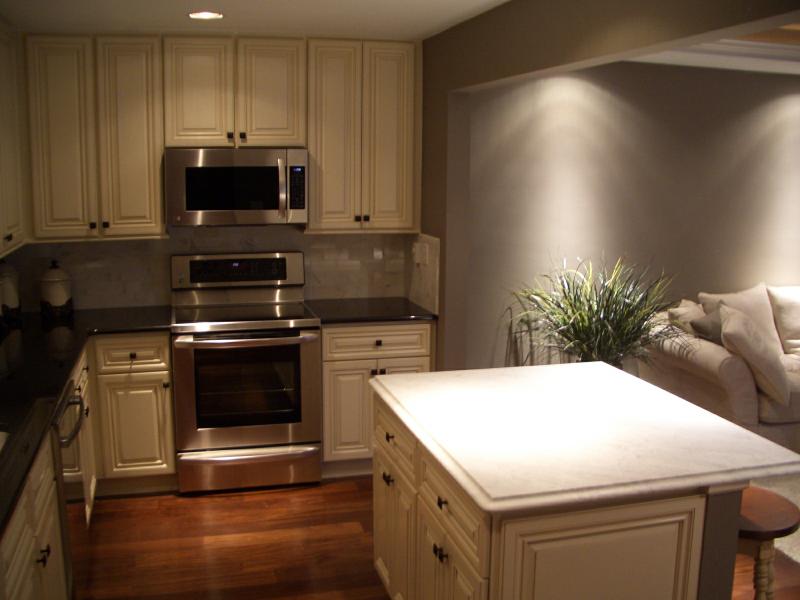
And finally an After picture, side view of the kitchen. Notice the difference between this and the first picture in this blog above....same view, but quite a transformation!

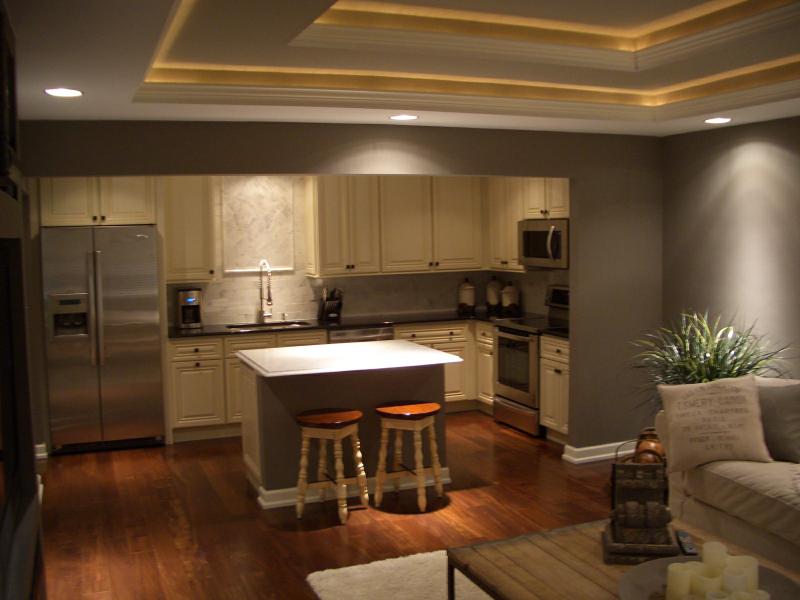
New Kitchen Cabinets, Carrera marble island counter with ogee edge detail, custom carrera marble backsplash, absolute black granite perimeter counter tops, stainless appliances, large single bowl stainless undermount sink and tiete chestnut hard wood floors make this transformation complete!

A front view picture of the transformed space.The illuminated double tray ceiling is highlighted by accent lights. Tiete Chestnut hardwood floors were installed throughout and really give the two areas a much larger, unified feeling.

And there you have it, a dramatic Before and After Design and Remodel that totally transformed this Kitchen and Living room area!! If you have any questions or comments please feel free to ask us, we are always happy to hear from you. Please share and save this website as we will be adding lots of projects to this blog in the days ahead. Happy Remodeling !


